Modern cars today have come a long way. Gone are the car stereo systems whose sole purpose was to play music. Today, this has been replaced with infotainment systems that function much like our smartphones. We can still listen to our favorite music as these systems still do music playback. However, it does more than that now. You can navigate to your desired destination via GPS, download and use different apps to help make driving a lot easier, and you can even connect your phone to use it hands-free.
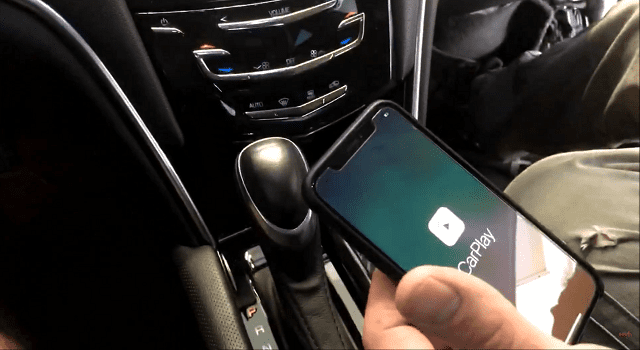
Different car models come with different systems. If you own a modern Cadillac, chances are it comes equipped with the Cadillac CUE system. This is Cadillac’s own infotainment system. CUE, or Cadillac User Experience, is a feature-rich infotainment system that has all the smart functions you need to make life on the road a lot easier. It has a large touchscreen panel to easily navigate the system and to also give you a better view of the maps or apps that you use.
The display screen is primarily made of glass and as such, it can be damaged due to accidents or unforeseen events. A damaged touch screen can render your CUE system completely useless as there will be no way for you to navigate its menus and use it properly. You might think that it’s time for you to replace your whole CUE system, but you don’t even need to do that. You can just replace the Cadillac CUE touch screen and you’re all set.
But how do you replace the Cadillac CUE touch screen?
Replacing Cadillac CUE Touch Screen
Replacing the Cadillac CUE touchscreen is not as hard as you might think, but you do need to follow a specific set of steps to properly replace your Cadillac CUE touchscreen.
Removing The Module
First, you’ll need to remove the module from the dashboard. To do this, pull back the kick panel on both sides of the center console to access the mounting hardware for the upper console trim. You can then pull up the trim to release it. Next, you need to pull the trim plate beneath the center stack towards you to release and remove it. Remove the two lower screws holding the bezel in place, then remove the upper trim cover. Pull gently from the bottom to remove it.
Carefully disconnect the wiring harness from the bezel and remove the four screws that mount the unit on the dashboard. Pull it forward to remove it
Disconnect the antenna cable and wiring harnesses from the backside of the CUE system module. Once that’s done, you can now remove the complete module.
Replacing the Touch Screen
Now that you’ve got the module removed, you can proceed to replace the touchscreen.
First, you’ll need to place the module face down on a soft material like a towel to keep it safe and prevent damage. Remove the screws that hold the side and slide them off. Remove the back cover plate. Different covers have different types of screws so make sure to take note and separate them.
Remove the side bezels held on by one screw on each side. Carefully remove the back cover from the module. Remove the two-pin connector for the backlighting. Remove the screws that hold the storage bin to the module and then separate the storage bin. Carefully disconnect the display screen’s ribbon cable from the main board.
Remove the screen retaining screws and lift the original screen off the module. Now that you’ve taken the damaged screen out, you can proceed to attach the new screen.
First, peel off the protective film on the new screen being. Take care to not touch the inner surface during installation to avoid leaving fingerprints and smudges. Slide the new screen into position and carefully guide the ribbon cable. Position the alignment tabs with the corresponding holes in the bracket. Screw the new screen in place using the original screws.
Carefully attach the screen’s ribbon cable to the main pc board. Reinstall the storage bin and reconnect the two-pin connector for the backlight. Reinstall the back cover and side covers with the correct screws. Reinstall the CUE module in the dashboard and secure all electrical connections.
Before reassembling everything, you should test the new module to confirm that everything is working properly. Once you have confirmed that everything is working, you can then reinstall the trim in reverse order of disassembly.